
Quickstart
From signing in to your first running notebook.
This gets you through your first real piece of work: sign in, create a project, and have the agent build and run a notebook. A few minutes, start to finish.
Sign in
Go to app.clusy.io. There's no password. You get a one-time code by email, or you sign in with Google or GitHub. If it's your first time, you'll go through a short setup (what you're here for, a theme, an optional profile) and land in your first project. You can skip it.
Create a project
A project is one body of work, like a dataset you're exploring or a model you're building. From the dashboard, describe what you want to do in the launcher, or hit New project and name it. You can drop a dataset straight onto the launcher too, and it comes along into the new project.
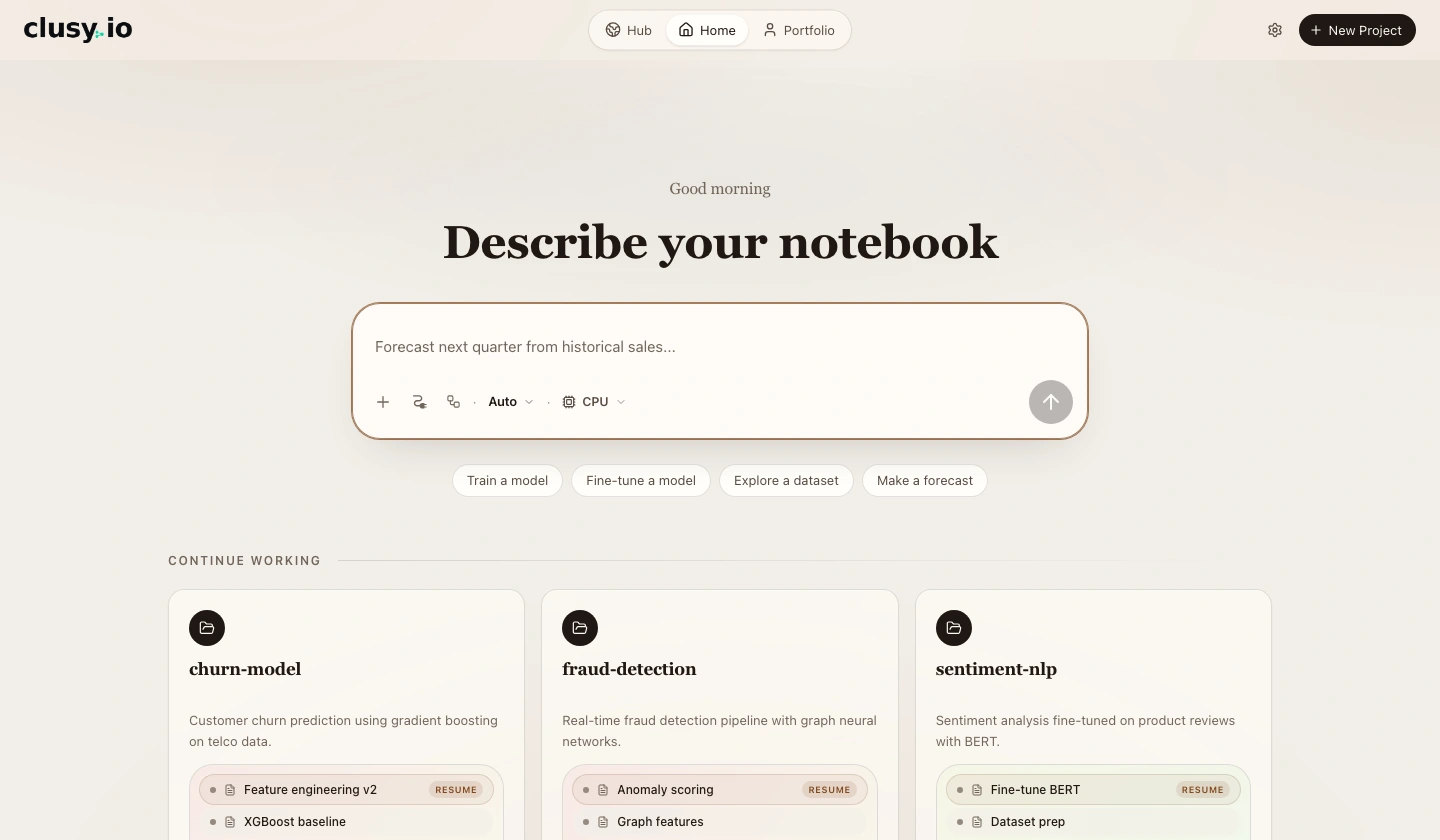 The current Home launcher in an anonymous example workspace. Describe the notebook, attach data if you have it, leave the model on Auto, and start on CPU.
You don't need to set up compute first. New projects run on CPU, which is fine for loading data, cleaning, plotting, and most classical ML. CPU consumes the allowance on Free and is unmetered on paid plans. Move the project onto a GPU later, when something needs one.
One choice is worth making up front, though: the sandbox type, which decides what's preinstalled. Leave it on Auto and Clusy picks from your first prompt. Pick it yourself if you already know—it locks after the first cell finishes successfully.
Say what you want
On a wide desktop, the new project opens with a No notebook yet canvas and the agent beside it; start from either one. On a narrow screen, the conversation stays full-width until there is notebook work to show. It is usually easier to describe the first task than to create the first cell yourself.
If you have a dataset of your own, upload it first so the agent can read it. If you don't, here's one you can paste in as-is:
Load the penguins dataset from
https://raw.githubusercontent.com/mwaskom/seaborn-data/master/penguins.csv, show me the shape and column types, flag any columns with missing values, and plot body mass by species.
The more specific you are, the less back-and-forth.
Watch the notebook build
The agent reads the request, sketches a plan, and prepares a real notebook. After the first send, the workspace reveals and the canvas moves through Setting up your notebook and Writing the first cell as the agent creates and runs cells. Clusy does not leave an unused placeholder notebook behind if the request never needs one.
The first cell is the slow one. Running it has to start a sandbox for the project, which takes a few seconds on CPU. Everything after that runs immediately, so if you're watching a spinner on your very first cell, that's what it's doing.
At any point you can click into a cell and edit it, run it again, or write a new cell by hand. The agent picks up from wherever you leave off.
Steer it
Read what came back and react in plain language:
- "The date column is a string, parse it."
- "Plot the missing-value counts as a bar chart."
- "Split into train and test and fit a logistic regression baseline."
Each message is another turn. The agent edits or adds cells and reruns what it needs to.
Try a second idea without losing the first
When you hit a fork (say you want a random forest alongside that logistic baseline), don't overwrite. Branch at the point the two diverge, before you start building either one. Clusy copies your loaded data and fitted objects into the new branch, so nothing recomputes, and you can switch between branches to compare.
Keep your work
When you've got something worth keeping, you can commit it to GitHub, share a read-only link, or publish to Hugging Face or Kaggle.